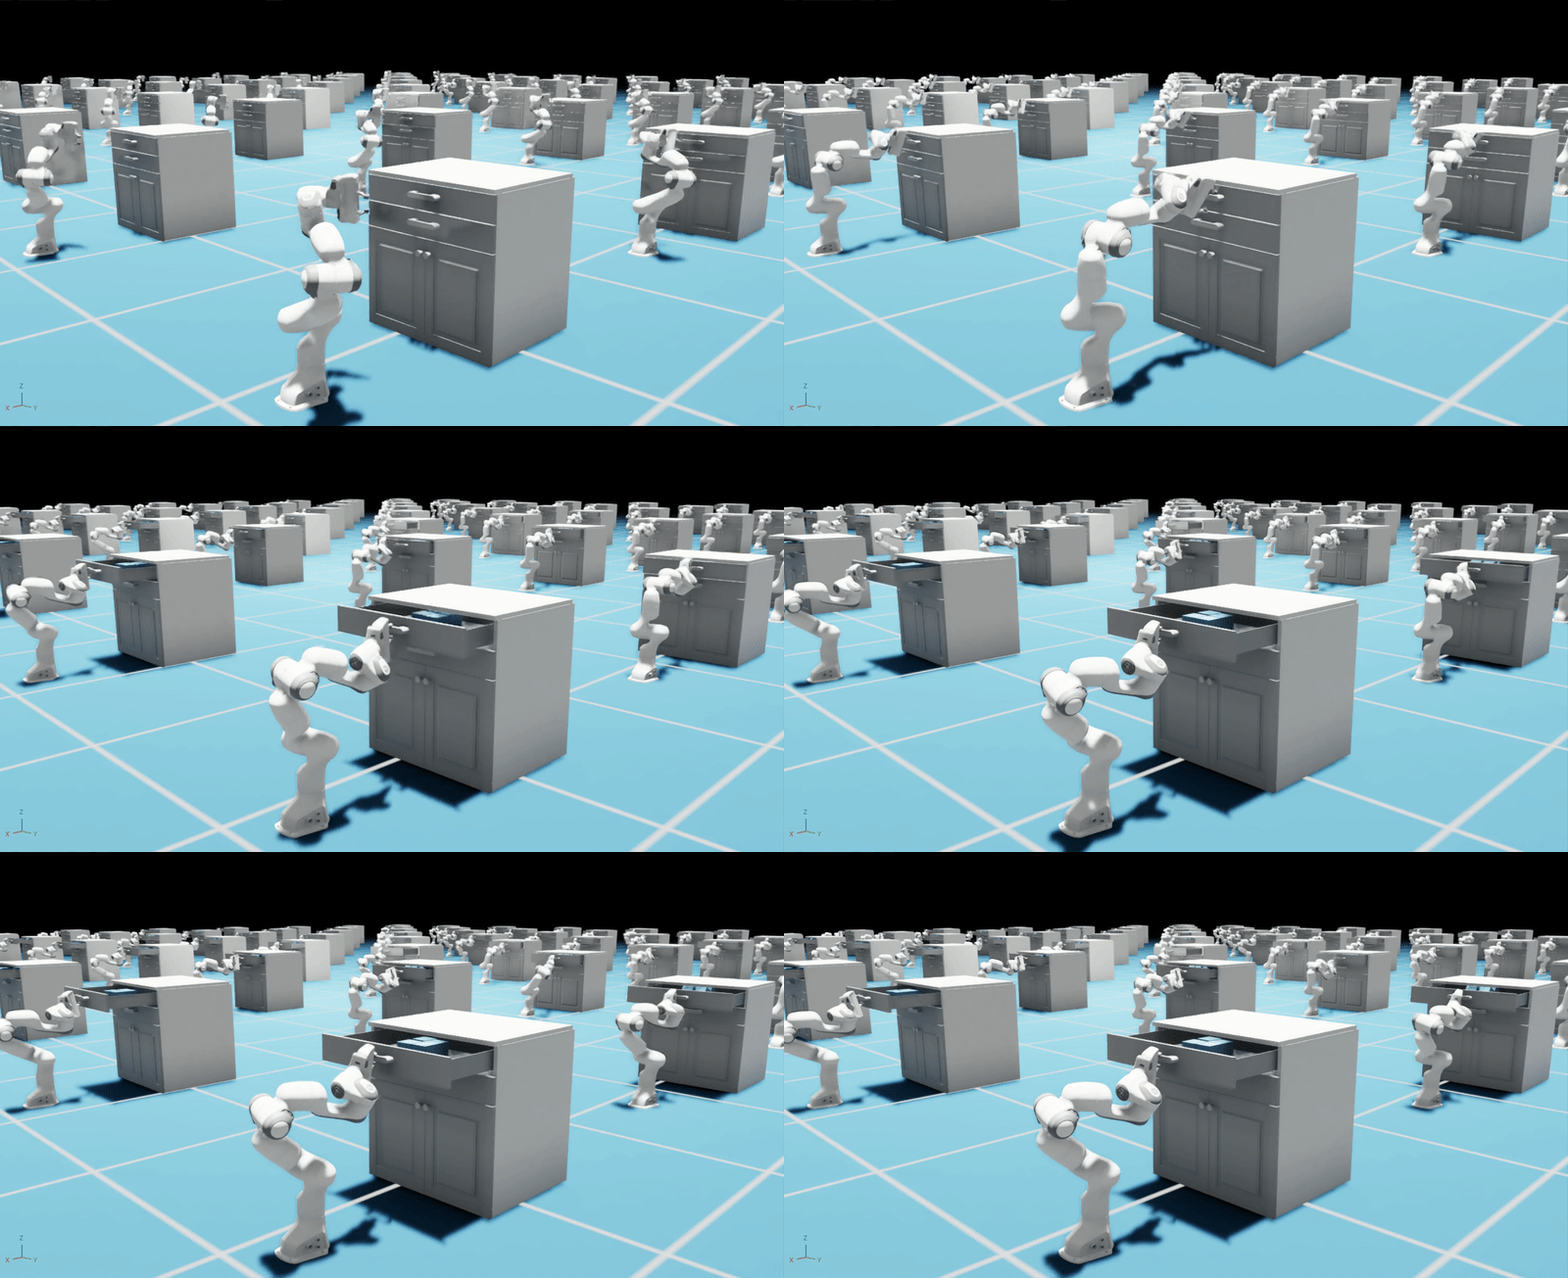
Exploring Omniverse Isaac Sim in 2024: Study Notes, Useful Tips & Tricks
A running note on my journey to explore Omniverse Isaac Sim in 2024 and some useful tips and tricks I found along the way.

In this blog, I will document my journey to explore Omniverse Isaac Sim in 2024 and some useful tips and tricks I found along the way. I will keep updating this blog as I learn more about Omniverse Isaac Sim.
Table of Contents
- Table of Contents
- Installation
- Connecting from a web browser
- Nvidia Isaac Sim Introduction Course
- Isaac Gym
Installation
First, launch a VNC session to the remote server so that we can see the GUI of the remote server. If you need help on how to launch and connect to a VNC session, here is a tutorial.
Then, let’s follow these steps from the official Omniverse Isaac Sim documentation to install Omniverse Isaac Sim in a remote server.
- Ensure your server meets the System Requirements and Isaac Sim Driver Requirements for running Omniverse Isaac Sim.
- Download the Omniverse Launcher.
- Install Omniverse Launcher
- Install Cache from the Omniverse Launcher.
- Install Nucleus from the Omniverse Launcher.

Connecting from a web browser
The Omniverse platform provides a nice way to connect to a running Isaac Sim through a web browser using WebRTC streaming. This is very useful for our use case:
- running Isaac Sim on a powerful remote server with GPUs
- accessing it from a less powerful local machine (or even on your iPad!).
In a remote server, open a Terminal window and launch Isaac Sim in headless mode: (Note: This could take a few minutes to start up the first time you run it.)
/home/<username>/.local/share/ov/pkg/isaac_sim-2023.1.1/isaac-sim.headless.webrtc.sh
Once you see Isaac Sim Headless WebRTC App is loaded., the Isaac Sim is ready to be connected to in a web browser.
Then, in a local web browser, go to the following URL to connect to the Isaac Sim:
http://<server IP address>:8211/streaming/webrtc-client/?server=<server IP address>
Replace <server IP address> with the actual IP address (or hostname) of the server where Isaac Sim is running. Also make sure that the server IP address is accessible from your local machine, and that the port 8211 and 49100 is not blocked by a firewall.
Click here if for some reason you cannot access the server IP address directly in the browser
You can also use SSH port forwarding to access Isaac Sim from your local machine. For example, you can use the following command (run in your local machine's Terminal) to forward the port 8211 and 49100 from the server to your local machine:ssh -N -f -L 8211:localhost:8211 <username>@<server hostname>
ssh -N -f -L 49100:localhost:49100 <username>@<server hostname>
And then you can access the Isaac Sim in the web browser using the following URL:
http://127.0.0.1:8211/streaming/webrtc-demo/?server=127.0.0.1
You should see the Isaac Sim running in the web browser:

Pro Tip: Increase the resolution of the WebRTC Streaming:
Manually edit this file:
\isaac_sim-2023.1.0\extscache\omni.services.streamclient.webrtc-1.3.8\web\index.html
Look for these lines:
<div id="video-container">
<video id="remote-video" width="1280" height="720" playsinline tabindex="-1"></video>
<audio id="remote-audio"></audio>
</div>
Edit the width and height above to 1920 and 1080, respectively.
You can also add the following flags to the command to increase the resolution of the Isaac Sim to allow for better visualization in the web browser (the default resolution is 1280x720):
/home/jianingy/.local/share/ov/pkg/isaac_sim-2023.1.1/isaac-sim.headless.webrtc.sh \
--/app/window/dpiScaleOverride=1.0 --/app/livestream/allowResize=true \
--/app/window/scaleToMonitor=false \
--/persistent/app/window/width=1920 --/persistent/app/window/height=1080
(Pro Tip source: NVIDIA Forum)
Nvidia Isaac Sim Introduction Course
NVIDIA provides a nice introductory course on robotics in Isaac Sim. I found it to be a great material to get an overview of the system and concepts in Isaac.

Isaac Gym
First of all, what is Isaac Gym? How is it different from Isaac Sim?
Isaac Sim provides the infrastructure for simulating robots and environments. It has two interfaces: a GUI interface and a Python interface, where the functionalities provided by the GUI interface are identical to the Python interface.
Isaac Gym is a codebase in Python that builds on top of Isaac Sim to provide starter template code for reinforcement learning tasks. It provides a set of environments and baseline agents that can be used to train and evaluate reinforcement learning algorithms.
Connecting to Isaac Gym via WebRTC Streaming
Officially, the Isaac Gym codebase does not support WebRTC streaming yet. However, some users have found a way to connect to Isaac Gym via WebRTC streaming. Here is a forked version of Isaac Gym that supports WebRTC streaming.
To use, first clone the forked version of Isaac Gym:
git clone https://github.com/Olympus-RL/OmniIsaacGymEnvs.git
git checkout f162327d354ea250fb051a98c4d5595ac8fe1954
Then, follow the instructions in the README to install Isaac Gym Python module:
Set up alias and disable conda (every time we run the Isaac Gym, we need to run these two lines):
alias PYTHON_PATH=/home/jianingy/.local/share/ov/pkg/isaac_sim-2023.1.1/python.sh
conda deactivate
Then install the Isaac Gym Python module:
cd <your_parent_dir>/OmniIsaacGymEnvs/omniisaacgymenvs
PYTHON_PATH -m pip install -e .
Then, we can run the Isaac Gym environment and connect to it via WebRTC streaming:
cd <your_parent_dir>/OmniIsaacGymEnvs/omniisaacgymenvs
PYTHON_PATH scripts/rlgames_train.py task=Ant headless=True enable_livestream=True
Now, on our local machine, we can access the streamed GUI through a web browswer:
First, let’s forward port 8211 and 49100 from the server to our local machine:
ssh -N -f -L 8211:localhost:8211 <username>@<server hostname>
ssh -N -f -L 49100:localhost:49100 <username>@<server hostname>
And then we can access the Isaac Sim GUI in the web browser using the following URL:
http://127.0.0.1:8211/streaming/webrtc-demo/?server=127.0.0.1

It is training! 🚀
We can explore other RL tasks provided by the repo by changing the task=Ant flag. You can find the list of tasks here.
# Mappings from strings to environments
task_map = {
    "AllegroHand": AllegroHandTask,
    "Ant": AntLocomotionTask,
    "Anymal": AnymalTask,
    "AnymalTerrain": AnymalTerrainTask,
    "BallBalance": BallBalanceTask,
    "Cartpole": CartpoleTask,
    "CartpoleCamera": CartpoleCameraTask,
    "FactoryTaskNutBoltPick": FactoryTaskNutBoltPick,
    "FactoryTaskNutBoltPlace": FactoryTaskNutBoltPlace,
    "FactoryTaskNutBoltScrew": FactoryTaskNutBoltScrew,
    "FrankaCabinet": FrankaCabinetTask,
    "FrankaDeformable": FrankaDeformableTask,
    "Humanoid": HumanoidLocomotionTask,
    "Ingenuity": IngenuityTask,
    "Quadcopter": QuadcopterTask,
    "Crazyflie": CrazyflieTask,
    "ShadowHand": ShadowHandTask,
    "ShadowHandOpenAI_FF": ShadowHandTask,
    "ShadowHandOpenAI_LSTM": ShadowHandTask,
}

To be continued…